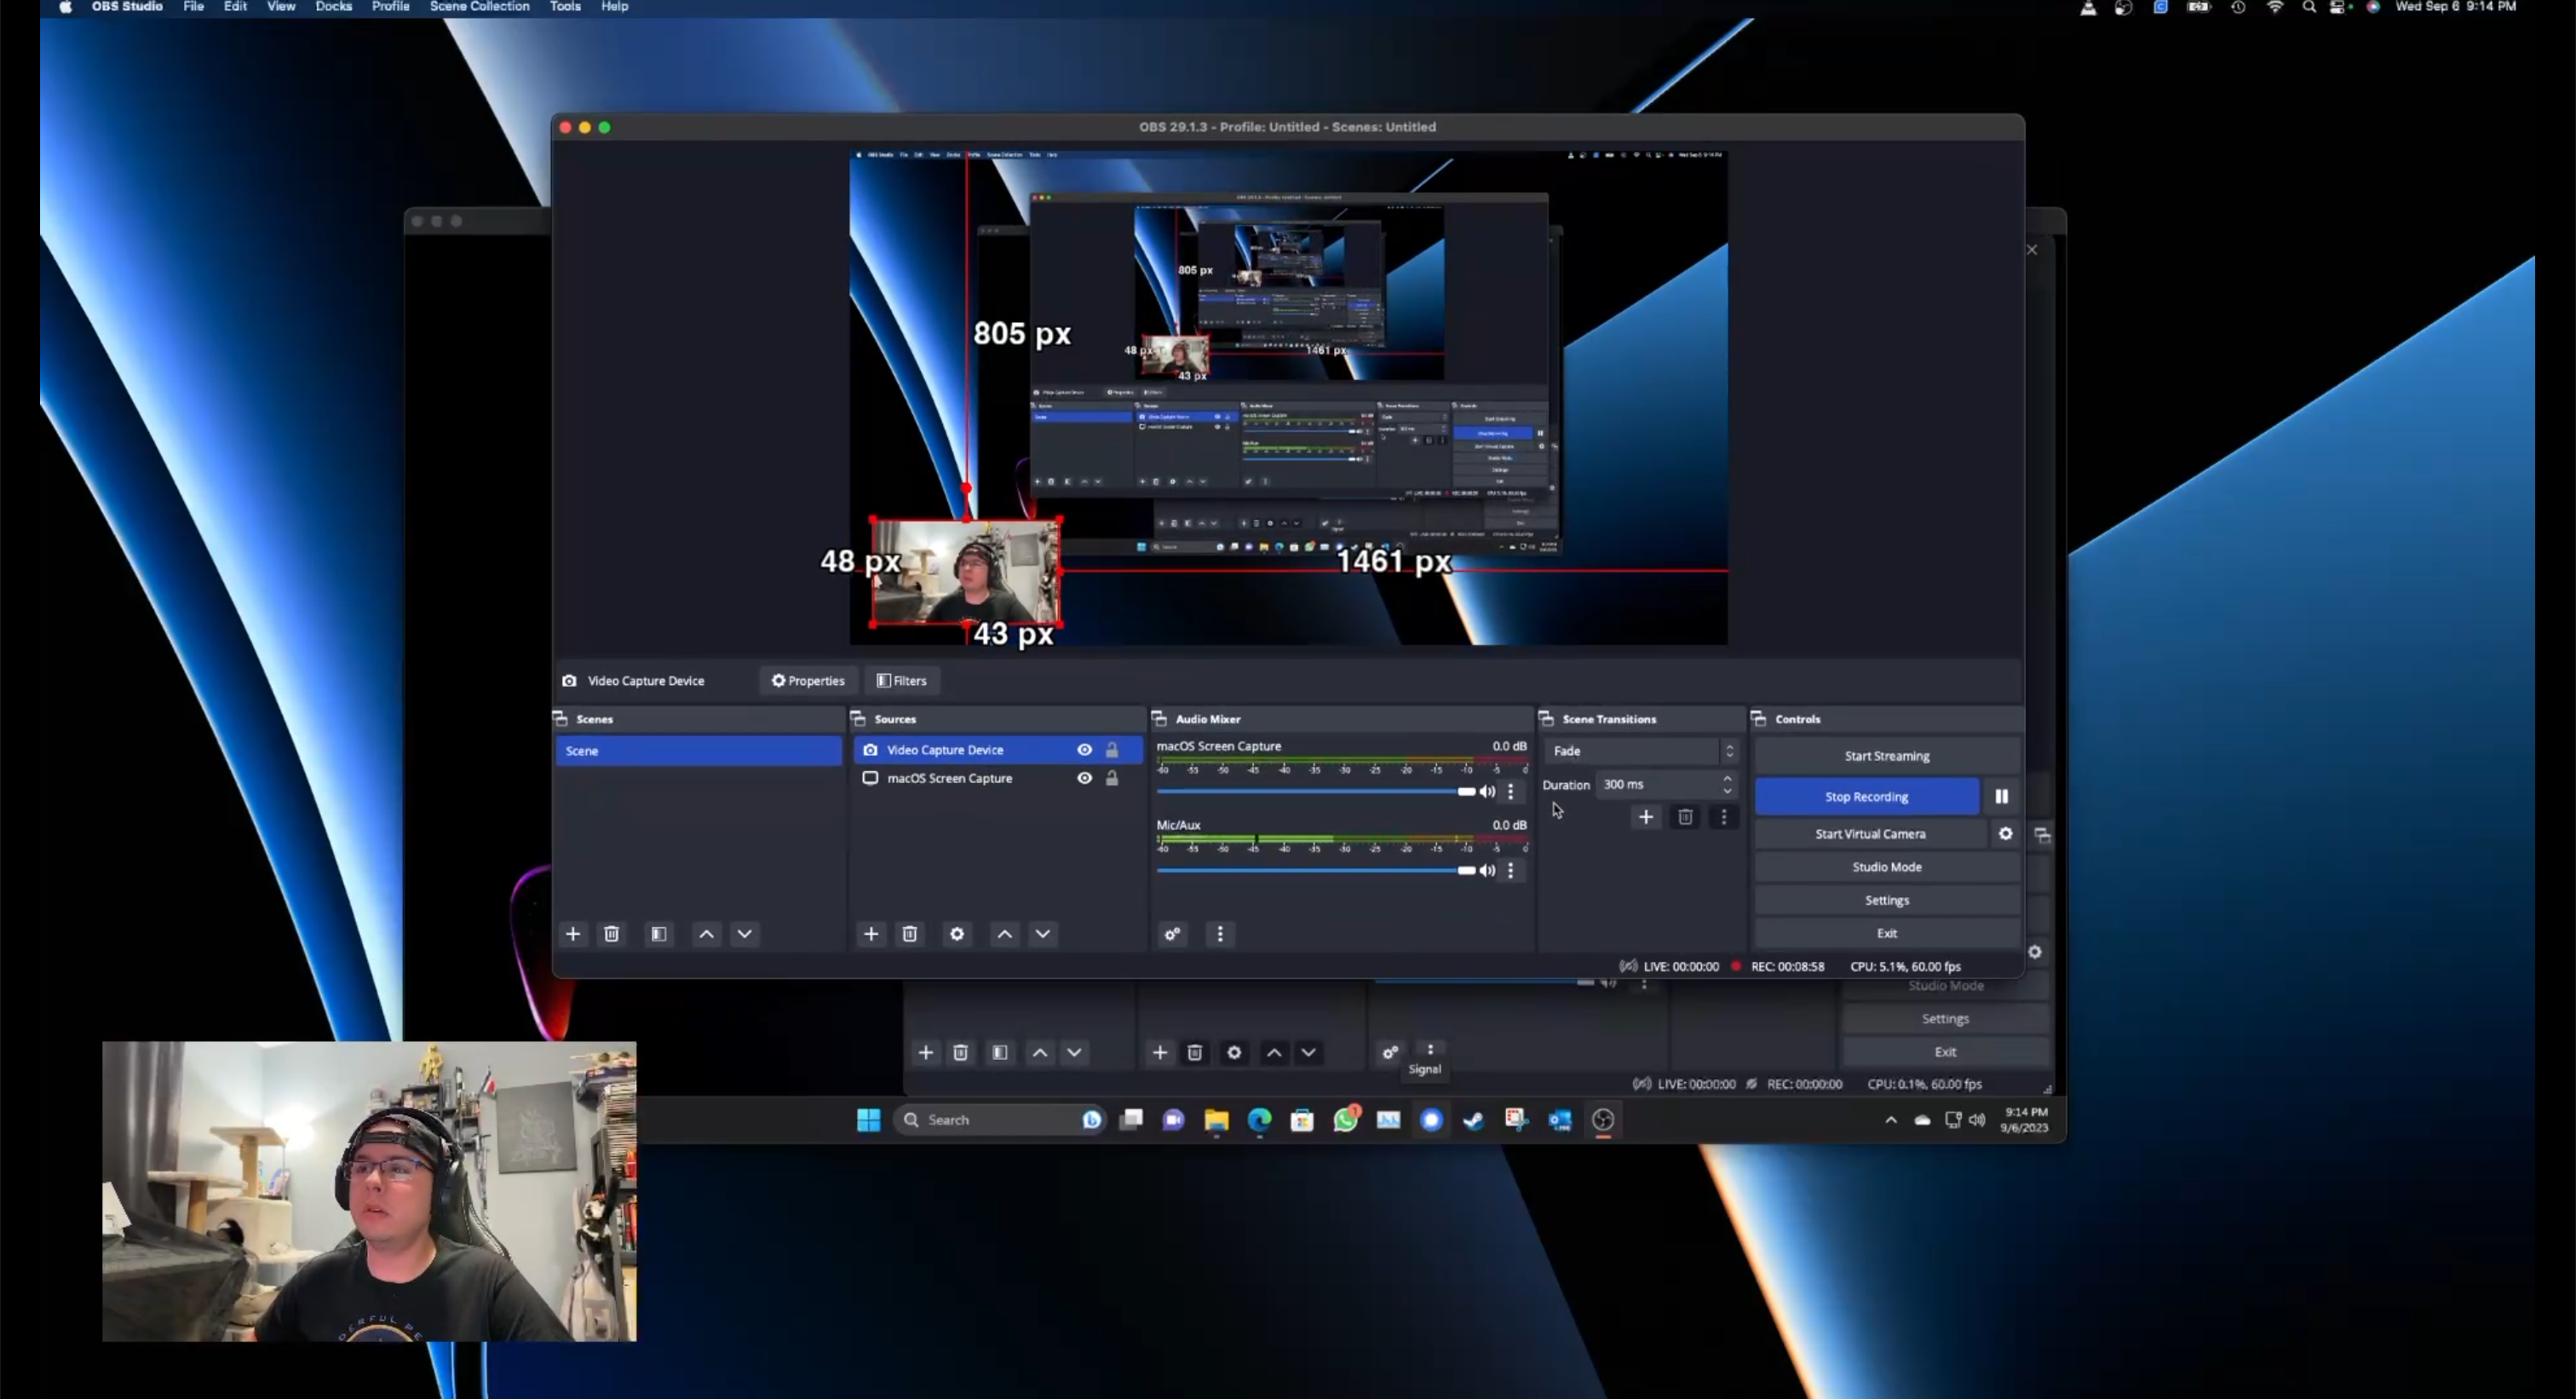
OBS Studio is the open-source screen recorder I reach for any time I need to make a quick walkthrough video for a client. Free, multi-platform, more powerful than you’ll ever need. The downside is the first-run UI is intimidating. This post is the boring minimum to get a screen + webcam recording out the door.
Install
Download from obsproject.com/download. MacOS, Windows, and Linux all supported. Install with the defaults; skip the auto-config wizard if it asks (we’ll do this manually so you understand what’s happening).
macOS-only: grant Screen Recording permission
This is the step that catches everyone. On macOS, OBS can’t see your screen until you explicitly grant Screen Recording permission. Open System Settings → Privacy & Security → Screen Recording, find OBS, toggle it on, and quit OBS completely and reopen it. Without this, your “Display Capture” source shows a black rectangle.
Set up the screen source
- In the OBS main window, look at the Sources panel (bottom area).
- Click the + button.
- Pick Display Capture (or Screen Capture on macOS. Apple’s newer API has a slightly different name).
- Name it “Screen.” Click OK.
- If you have multiple monitors, pick which one to capture. Click OK.
You should now see your screen mirrored inside the OBS preview window. If it’s black, see the macOS permission step above.
Add the webcam overlay
- Click the + button in Sources again.
- Pick Video Capture Device (Windows / Linux) or macOS Camera on Apple Silicon.
- Name it “Webcam.” Click OK.
- Pick your webcam from the device dropdown. The preview should light up.
- Click OK.
The webcam will likely fill the whole preview. To shrink it into a picture-in-picture:
- Click the webcam in the preview area to select it (red bounding box appears).
- Drag a corner inward to scale down to about 1/4 of the screen.
- Drag the whole thing to your preferred corner (I usually do bottom-right).
Crop the webcam to a circle (optional)
OBS doesn’t have a built-in circle mask, but the look most people want is a clean rectangle with a thin border. Right-click the webcam source → Filters → + → Crop/Pad if your webcam is showing too much background. For the circle look, add an Image Mask/Blend filter and point it at a PNG circle mask. Many people just download a free one.
Record settings
- Click Settings (bottom right).
- Go to the Output tab.
- Set Output Mode to Simple.
- Under Recording:
- Recording Path: wherever you want the files saved.
- Recording Quality: “High Quality, Medium File Size” for tutorials; “Indistinguishable Quality” if you’re going to edit.
- Recording Format: MP4 for compatibility, or MKV if you’re worried about crash recovery (you can remux to MP4 later from File → Remux Recordings).
- Encoder: use the hardware encoder if available (NVIDIA NVENC, Apple VideoToolbox, AMD AMF). Way faster, slightly bigger files.
- Go to the Video tab.
- Set Output (Scaled) Resolution to 1920×1080.
- Set Common FPS Values to 30 for tutorials, 60 if you need smooth motion.
- Click Apply, then OK.
Record
In the main window, click Start Recording. Do your thing. Click Stop Recording. The file lands in the Recording Path you set.
Common gotchas
- Black screen on macOS: Screen Recording permission. Quit and relaunch OBS after granting.
- No webcam in the source list: another app is holding the camera. Quit Zoom, Teams, FaceTime, browser tabs.
- Audio not recorded: the default Audio Mixer captures system audio and your mic. If you want only mic, mute the desktop audio source in the mixer.
- Huge file sizes: drop bitrate in Output settings, or switch to MKV and remux to MP4 after.
That’s the whole thing. Once you’ve done it once, future recordings are just “open OBS, click Start Recording.”